
Practice
How to stop three-putting: the first drill and a practice plan
My swing felt good. My chipping was acceptable. My score was still expanding like it had somewhere important to be. The culprit was waiting on the green.
The first hole told me exactly what was wrong
I hit the green on the first hole. That should have felt like a small victory. My first putt was long, and I left it about five feet away. Not ideal, but still very recoverable.
Then I needed three more putts.
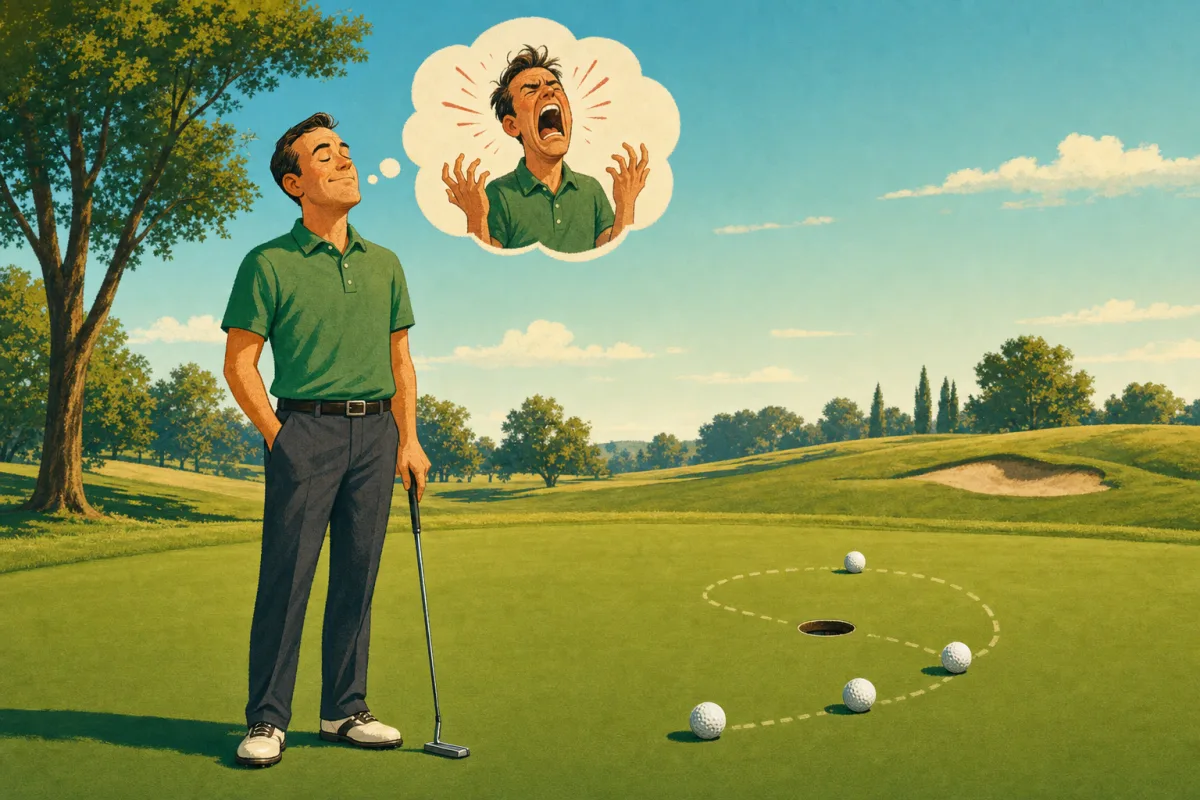
Technically, that is a four-putt. Emotionally, I file every trip of three or more under the dreaded three-putt: the pang of pain, the inner screaming, and the calm exterior that suggests I am handling this much better than I am.
I three-putt often enough that the solution feels seductively simple: always two-putt. Unfortunately, "always" is not a practice plan. So I went looking for one.
The quick answer
Three-putt avoidance is mostly two separate jobs:
- Leave long putts close enough. Speed control turns the second putt into a reasonable finish.
- Start short putts where you intend. A five-footer cannot go in if it begins off line, even when the read was good.
Start with speed. On a practice green, putt to a broad safety zone rather than trying to hole everything. At home, use a ruler or a narrow gate to learn whether the ball starts on your chosen line. Those two pieces attack the long first putt and the uncomfortable second putt without asking one drill to fix everything.
The one drill I would start with
The best first drill for my problem is a safety-zone distance drill. It is simple, measurable, and aimed at the putt that creates most of the trouble.
- Find a fairly flat stretch of practice green with a fringe behind the target area.
- Place a tee about three feet before the fringe. The space between the tee and fringe is the safety zone.
- Mark starting points about 10, 20, and 30 feet away.
- Roll five balls from 10 feet. Each ball must finish beyond the front tee but short of the fringe.
- Move to 20 feet, then 30. If five in a row is too much at first, record how many finish safely and try to beat that number.
PGA Coach Ethan McCallister teaches this style of drill because it replaces the tiny target of a cup with a useful stopping zone and puts the attention on speed. His version progresses through 10, 20, and 30 feet and can later move onto different slopes. That is exactly the progression I need: first learn the distance, then make the read harder.
The fringe is a convenient backstop, not a promise that every course gives me the same speed. The result I want is a repeatable relationship between stroke length, rhythm, and how far the ball rolls.

How to practice putting at home
Home practice cannot teach me the changing speed and slope of a real green. It can give me a stable surface for start line and contact, which is perfect for the putts that remain after a decent lag.
Use a ruler for honest feedback
Put a ball near one end of a 36-inch ruler or yardstick and roll it along the length. If it falls off early, the ball did not start on the intended line. PGA Coach Brendon Elliott recommends this kind of narrow-board drill because the feedback is immediate: face control and centered contact become visible instead of mysterious.
Begin close enough that success is normal. Make five clean rolls, then move the target a little farther away. I would rather make 20 deliberate strokes than mindlessly slap 100 balls toward a cup.
No ruler? Make a gate
Place two coins, books, or other small objects just wider than the ball a foot or two in front of it. Roll the ball through the gate. A second, wider gate around the putter head can help reveal contact and stroke-path problems, but start with the ball gate so the goal stays obvious.
Use a surface where the ball rolls predictably and make sure the practice setup cannot damage the floor, wall, furniture, pets, or anyone who thought the hallway was still open.
What should I buy?
The encouraging answer is: almost nothing.
- Required: my putter, one or more golf balls, and a target.
- Useful and inexpensive: a straight ruler or yardstick and two small gate markers.
- Optional: a putting mat long enough for repeatable start-line work.
- Only after I know the problem: an alignment mirror, putting gate, or a putter fitting.
A mat is convenient, but it is not a substitute for practicing speed on the greens I actually play. An expensive training aid also cannot rescue a session with no goal. I would spend first on access to a practice green, a lesson, or a proper putter assessment if the ball consistently starts somewhere I did not aim.
An eight-minute routine before a round
The warm-up is not the time to rebuild my stroke. It is a calibration for today's green speed.
- Three minutes: long rolls. Putt across a fairly flat part of the green without aiming at a hole. Send balls in both directions and try to stop them near the fringe or a tee.
- Two minutes: change the distance. Roll one ball short, one medium, and one long. Repeat without hitting the same putt twice.
- Two minutes: finish the leftovers. Drop balls around one hole from about three feet and work through the small changes in break.
- One minute: make a few comfortable putts. End by seeing the ball fall into the cup, not by attempting a six-foot breaking putt until doubt has fully matured.
The PGA of America's classic circle drill places several balls around the hole at about three feet. The point is not to prove I will never miss. It is to see different short-putt pictures and arrive at the first green with a familiar stroke.
What to record after the round
"I putted badly" is emotionally accurate and practically useless. For every green where I take three or more putts, I can write down four things:
- Approximate first-putt distance
- Whether the first putt finished short or long
- Approximate second-putt distance
- Whether the short miss was mostly speed, read, or start line
Patterns should appear quickly. If I keep leaving 30-footers six feet short, I need distance work. If I repeatedly reach the three-foot circle and still miss, I need start-line and short-putt practice. If I cannot tell where I aimed, I need a routine before I need another gadget.
A four-week plan that builds without becoming a second job
Learn the start line
Practice at home for 10 minutes twice. Roll the ball down a ruler or through a gate and count clean starts.
Build a safety zone
Use the 10-, 20-, and 30-foot distance drill once. Record safe finishes rather than total putts holed.
Add the second putt
After each lag, finish the ball. Score two points for a two-putt, one for a three-putt, and zero for anything worse.
Change slope and pressure
Move the drill uphill, downhill, and across a gentle break. Finish with a short circle drill and restart the circle after a miss.
Then I repeat the cycle using the notes from my rounds. Progress does not require a new drill every week. It requires giving the same useful drill enough time to expose what is improving.
When the problem may be the fit
If I cannot aim the putter comfortably, the face consistently looks wrong at address, or centered contact remains elusive despite focused practice, a putter fitting or lesson can separate equipment from technique. Length, lie, loft, head shape, alignment marks, and feel can all affect how naturally I set up and return the face.
I would bring my current putter and my actual miss pattern. "Please stop the suffering" is a valid emotional brief, but "I start five-foot putts left and strike them toward the heel" gives a coach or fitter something useful to test.
My next round starts on the practice green
The first-hole four-putt hurt because the rest of the round did not feel disastrous. The swing was there. The chipping was there often enough. I simply kept donating strokes after reaching the green.
I do not need a complicated putting laboratory. I need one distance drill, one start-line drill, a short pre-round calibration, and enough notes to know which problem is actually costing me. The inner screaming may not disappear immediately. The ball should at least start finishing closer to the hole.
Sources and further reading
- PGA of America: Safety Zone drill for speed control
- PGA of America: Start-line ruler or board drill
- PGA of America: Gate, circle, and distance-control drills
- PGA of America: Circle putting drill
More from this series
Practice and Golf Fitness
Part 4 of 8. Build a practice habit and support the movement that lets you enjoy more golf.
Keep reading
Here's another article you can enjoy
How to make range practice feel like golf: a 45-ball plan
Turn one bucket into targets, club changes, simulated holes, consequences, and a useful note for next time.
How to start playing golf: a practical beginner roadmap
What to learn, borrow, buy, and expect before your first full round.
A 10-minute golf warm-up before a round
Dynamic movement and progressive swings so the first tee does not feel like the first rep.